Here is a quick tutorial on how to create a 3D logo in Blender from a .gif, .jpg, or .png, 3D Logo in conjunction from Austin Ehlert. Thanks Austin.
Getting Set Up
- Download and install Gimp
- Download and install Blender 2.59
- Call your creative department or download an image from the internet. I found a logo you can use here – Nike Logo
Part 1 – Paths from GIMP
- Open Gimp
- File >> Open >> nike-logo.jpg

- Double Click on the “Select by Color Tool” [Shift O]

- Click on the logo to select all parts of it. (You may want to adjust the Threshold and other options for this tool)
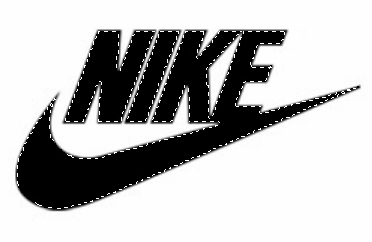
- Do not select fine details such as the Registered TM. Keep the logo as simple as possible. Notice the marching ants around the black area.
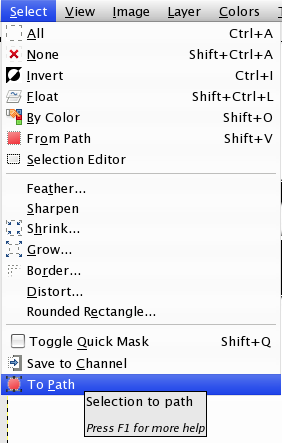
- Click the menu item Select >> To Path
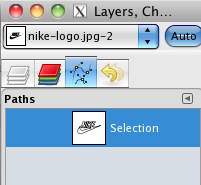
- Your path will show up in your “Layers, Channels, Paths” pallet under the “Paths” tab.
- Right click (Control Click on Mac) on the path
- Select the “Export Path” option
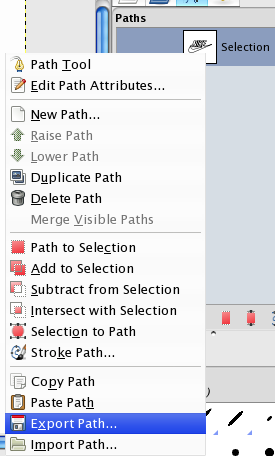
- Title the path, select a folder, and make sure to give the file an .SVG extension.
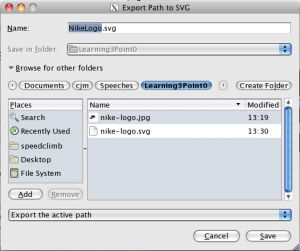
- Select Save
Part 2 – Using Blender to make a 3D logo
- Open Blender
- Hit the [Delete Key] to remove the standard box that is shown every time you open Blender
Default
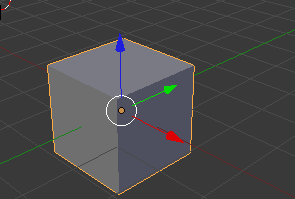
After hitting the delete key you should have a blank canvas.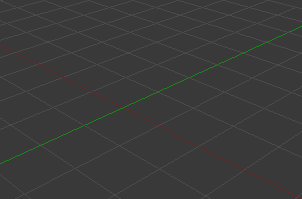
- Click the Drop-down File >> Import >> Scalable Vector Graphics (Insert Screenshot)
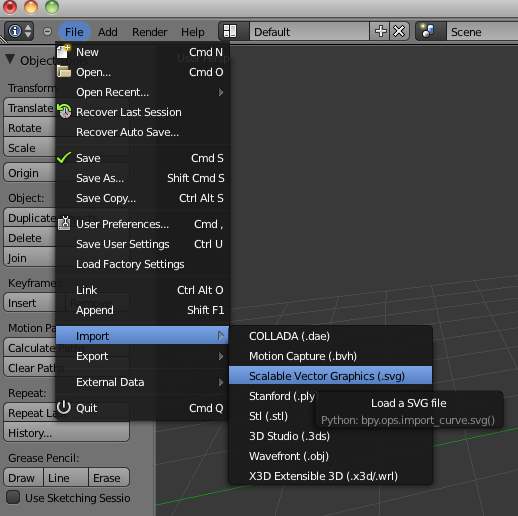
- Find your .svg file and Click OK without changing any of the options to import your 2D logo.
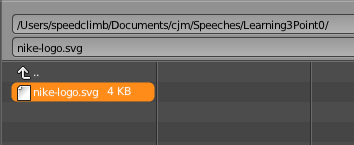
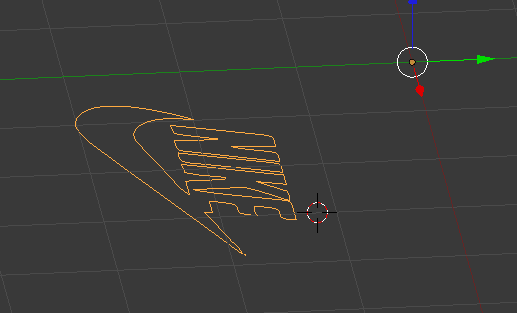
- Once imported, make sure the logo is selected by right clicking on it. (I know it is counter-intuitive but that is how they made it). You will notice a golden outline when an object is selected.
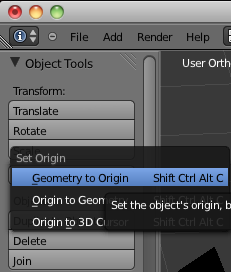
- With the object selected Click on the Transform >> Origin >> Geometry to Origin. [SHFT, CMD, ALT, C] this will center the logo on the x, y, and z axis.
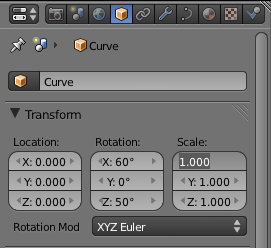
- With the object still selected let’s make the logo start front and center by clicking on the “Object” tab on the right hand side and then changing the rotation values for the X and Z axes. In our case it will be 60 for the X and 50 for the Z. Keep the Y value the same.
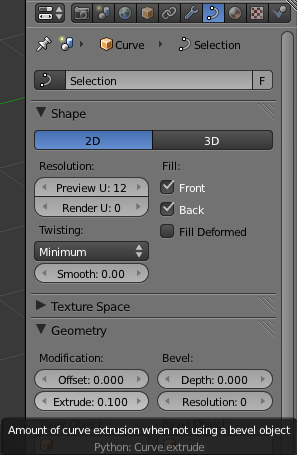
- At this point the object is still a path. We need to turn it into something visible. and give it some depth. So, select the Object Data tab (See screenshot below)
- Change the object from 2D to 3D by clicking on the 2D button. (See screenshot below)
- Extrude the object. In our case by 0.1.(See screenshot below)
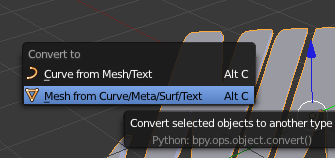
- This is the most important step in the process. If you don’t do this is will not show up in your Augmented Reality. With the object selected change the object from a curve to a mesh by pressing [ALT + C]
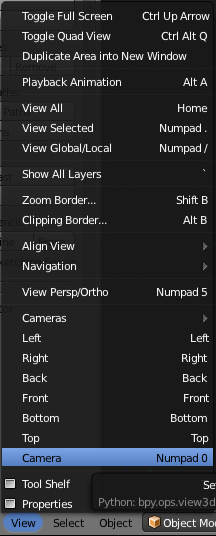
- Change your view to “Camera” to verify that the logo is centered in the camera and that is in the correct starting position.
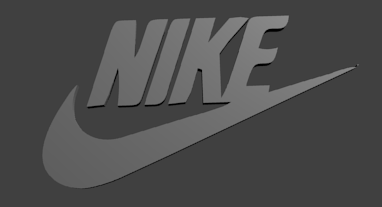
- It should look like this. If it doesn’t then you will need to move the camera to get it centered.
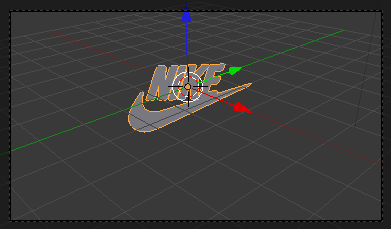
- Render your logo by hitting F12 to see what it will look like.
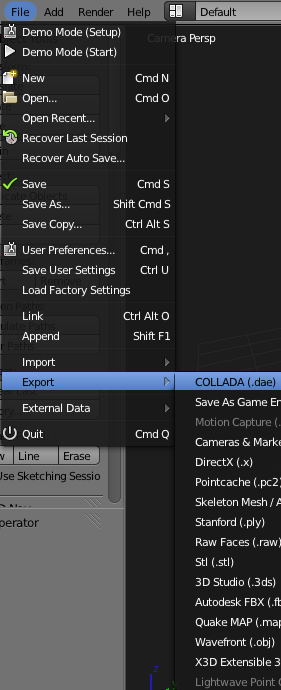
- The final step is to export the 3D logo into a Collada file with the extension .dae by Clicking on File >> Export >> Collada
- Now you are ready to use this file to make some augmented reality.
Thanks and Happy Flashing
Curtis J. Morley
